Esprit HID Light Install
Ever since HID lights came out I've always loved them. Not so much for the white and blue look,
but because they make everything so much easier to see at night. For those of you that remember driver's ed, what is one of
the most important things about driving at night? "Don't overdrive your headlights!" So when retrofit kits came out and the
prices went down a bit, I decided to put them into my 300ZX. Now, two years later, I have them in the Z, the Passat and so
finally, time to put them into the Lotus. I had initially been hesitant since the Esprit unlike the Z and Passat does not
have projection headlamps. I was very worried about the glare that it would cause other drivers, but I finally had to do it.
I ended up going back to the company that made my set for the Z, Phoenix Microlite. I called up the owner and chatted for a
little bit about whether or not they had a simple kit for the Esprit like they had for my Z and sure enough, they did. Bob
referred me to Eric at Supreme Power Parts since he would have
to charge me full retail ($700ish) if I purchased it from him. I gave Eric a call late on Monday afternoon and on Friday morning, my kit
was delivered for $555 from California. (OK, so I had to pay extra for the three day shipping, but no big deal. I also had hopes of
entering the Gumball 3000 race which started Thursday from New York, but alas did not get in this year.) I came home from work and went
right to work. Below is a step by step write up. Installation can be done in about 20 minutes. Keep in mind that I had the
H4 E Code lamps to start with and this kit would not work for the sealed beams that most stock US Esprits have.
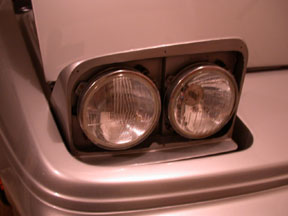
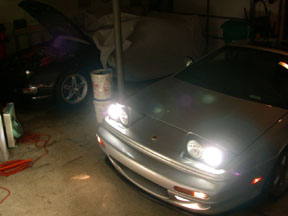
1. The requisite before picture.

2. The screw to manually raise the headlamp is located behind the windshield washer reservoir on the passenger side.
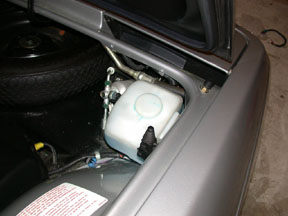
3. Lift the fluid reservoir out of the way.
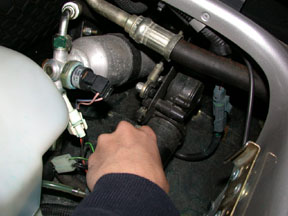
4. Raise the headlamp to it's fully extended position.
5. Remove the black plastic trim around the headlamp. There should be six phillips screws.
6. Remove the metal bezel that holds the headlamp in place. There should be three phillips head screws that you need to loosen.
Once loosened you can just twist the bezel and lift out without completely removing the phillips screws.
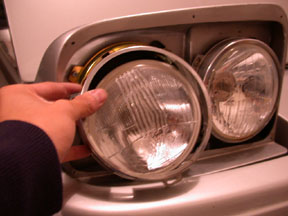
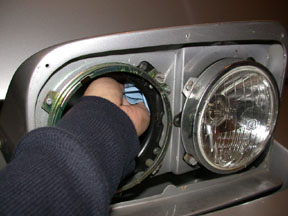
7. Remove the headlamp assembly.
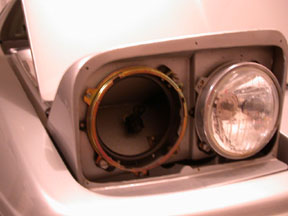
8. Remove the halogen H4 bulb.
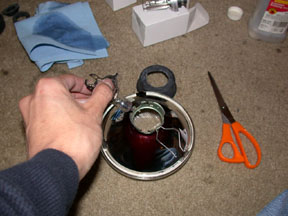
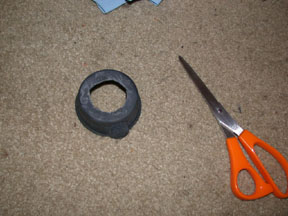
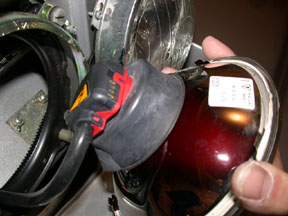
9. You will need to trim the rubber guard that goes around the electrical connections and the bulb.
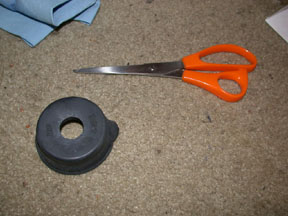
10. Trim the rubber guard just a little to fit the new connectors.
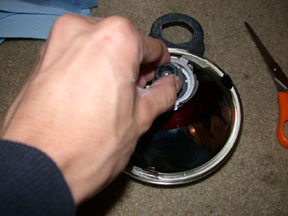
11. Insert the new HID bulb and set assembly aside. Be sure not to touch the HID bulb and to clean it with alcohol if you do (I cleaned it anyway just in case).
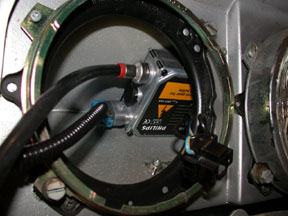
12. Clean the area where you want to mount the ballast with alcohol.
13. Mount the ballast with the supplied velcro. I chose to mount it in the headlamp pod itself just in between the high beam and low beam.
14. Plug in the connections from the old powerline to the ballast.
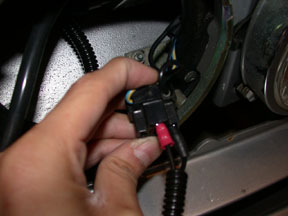
15. Plug in the new connection from ballast to bulb.
16. Replace headlamp, metal bezel, and plastic trim.
17. Check headlamp adjustment! When the E Code lamps were in they were actually misaligned a bit; however, the misalignment
was not as noticeable as when the HIDs are in. The before and after pictures below are from non-adjusted lamps. I took some time after
going out for a drive to align them after noticing that they were seriously blinding to oncoming drivers. (OK, so I was lighting up some trees too and
decided that they were aimed way too high!)
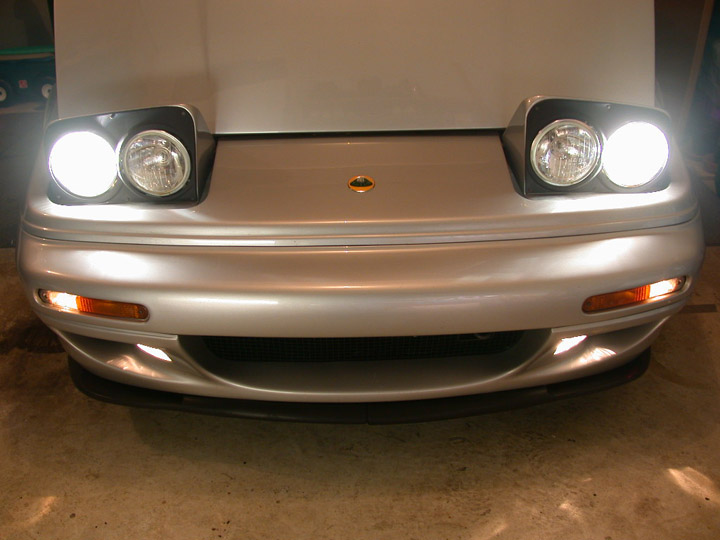
OK, so I cheated a bit. H4 E Code lamp on the passenger side and HIDs on the driver side and the second picture is HIDs in both.
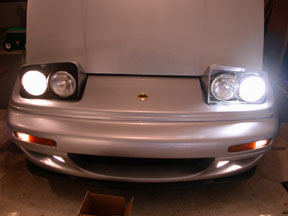
Comparison pictures, before and after.
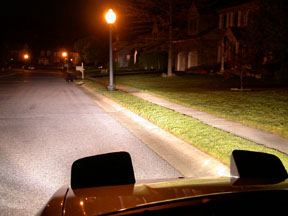
It's hard to tell the difference in the pictures, but when aimed correctly, there is a HUGE difference
between the HIDs and the E Codes. The lighting is much improved and HIDs also tend to light up reflective writing such as signs,
road lines, and patrol cars. Well worth the money in my opinion!

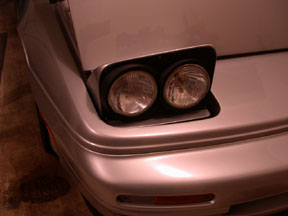
Left side has H4 E Code lamps and right side has HID lamp
Home